Wednesday 17 March 2010

Modelling; Lion Cub

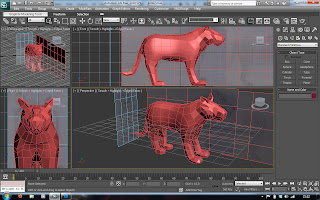
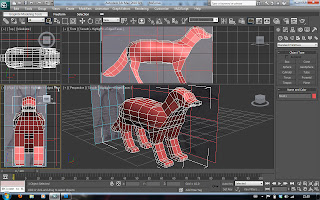
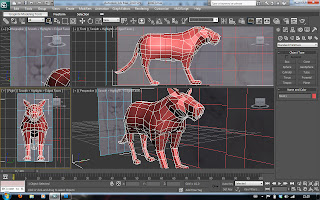
I have now altered my Lioness model to form my lion cub.

Little alterations were made, to make the lion cub cute and chunky, similar to the fox cub. These are common features of cartoon characters and babies, "cute and chunky".

I moved vertices, shortened the legs, scaled the muzzle in the y axis, and made the tip of the tail more like the bud of a flower and gave it more of a flick. I chose to leave the "bottom" quite large, and dip the back a tad. I also made the neck a lot thinner.
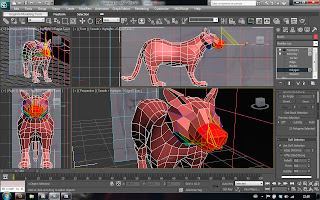
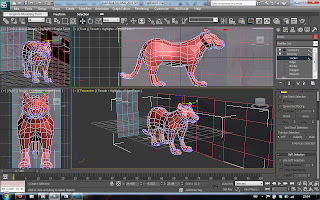
Here is the final lion cub. Again I have chosen to wait before scaling the model down until I organise all the models into one scene.
Modelling; Lion

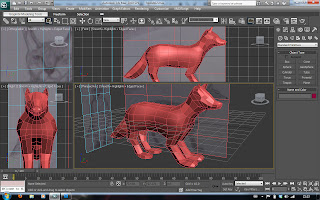
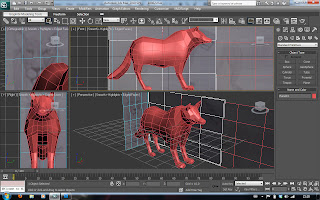
Once again, I have modified the fox I have created rather than start from a box. Even though I have created these low poly models in a very small fraction of the time it took me last semester, it was still easier and faster to work with the fox model than create something this similar from scratch.


I manipulated the model by moving vertices (e.g. arching the neck as shown above), scaling portions (for example thickening the legs) and generally playing to get the right shape.

Once again I did the 'side-view' first, then played with the 'front' view of the object to adjust the nose and width of the lion.

Here is the final low-poly version of my lion.

Modelling; Fox Cub

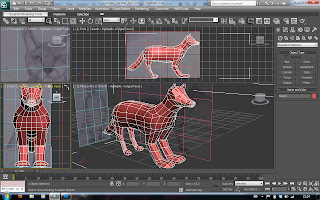
Using the 'finished' low poly fox, I simply moved vertices, scaled certain portions of the model up and down (not just the whole model) to make the whole thing 'chunkier' and cuter. The first image shows the front legs being thicker only.


Other things I changed where making the (*cough*) 'bottom' rounder and generally larger, the shoulders and chest area, the tail and a few odd vertices. When scaled down there is a difference between this and the original model.

I decided not to scale down at this stage, I will wait until I put the models in the same scene.

Modelling; Fox Part 2

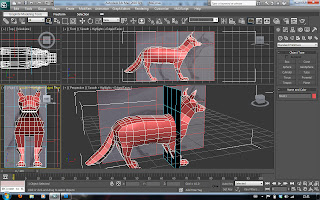
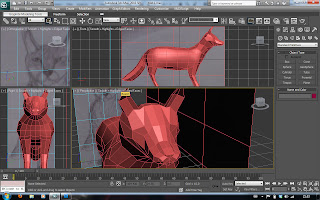
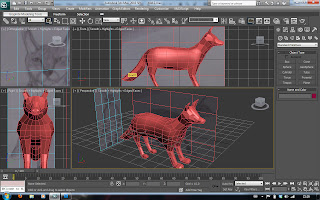
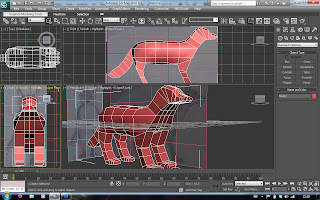
Continuing with my fox model, having had a good side view (save for the ears) I started to work with the 'depth' and finalize my fox.

The nose was a very tricky part, just looking at it from a few different angles, it took a lot of time to get it to look decent.

And here it is, a low poly version of my fox. I saved three copies of this; one for my fox, one for the fox cub, and one for the lion. (Please see following posts).

Modelling; Fox Part 1

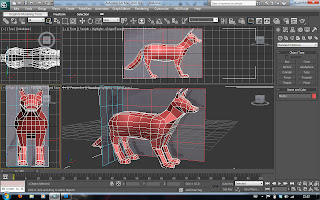
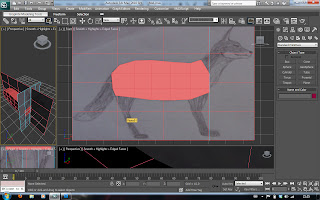
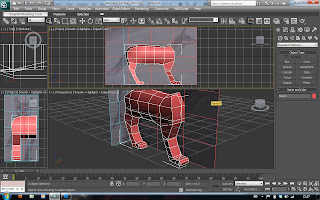
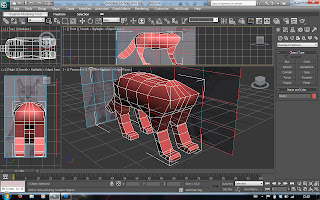
I have finally sat down and started modelling. Firstly, my Fox (mother). The images below show the first few stages of development of my polygon. (Starting with a cuboid, 3 x 3 x 5 segments).


'Moulding' the vertices allowed the shape of the fox to be formed. A side view was determined first.


The 'symmetry' modifier was used to save a lot of work, make the model accurate, and give a visual representation of the whole model whilst I was working. (I thought previously you could only apply the modifier to the finished product, but this way allowed better accuracy, especially when it came to the next section: depth; more specifically the nose).

Friday 12 March 2010

Character Profiles

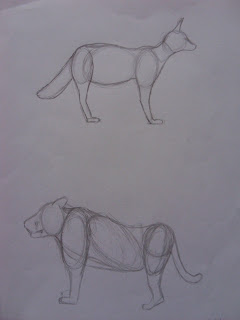
Here are the guides I created for my profiles;


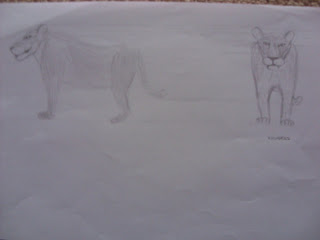
Below are some profiles of my two main characters; the lion and the fox mothers.

I have done a side and front view so I can easily create my models in 3DS max. Now on with the modelling!

(Granted they aren't quite accurate, as you can see the guidelines are a tad wonky, but I intend to play with these rough designs in MAX anyway...)