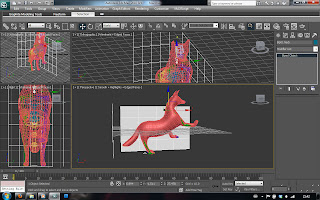
It was recommended that you use mainly only 1, 0.75 and 0.5 settings when assigning parts of the mesh to the biped, unlike when the model is automatically skinned and ranges to 0.1 showing blue on the mesh.
This seemed pretty simple, and I kept my meshes completely red, orange and yellow.
I skinned each of the four types of model exactly the same, assigning the vertices in the direct vicinity of the "bones" to be attached to it.
(pic of skinning)
I found the 'loop' tool very handy especially working with four legs as there was always something to worry about in the background so I couldn't drag across the screen.
I have proof below that my skinning did actually work quite successfully by manipulating the mesh out of its original shape:

No comments:
Post a Comment